|
|
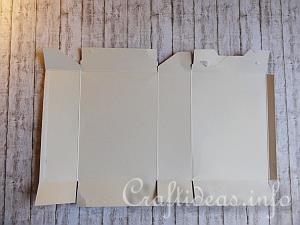
1. Open the box you have chosen to use as your template. Now cut a piece of gift wrap paper that is at least 6 cm higher (in the height) and about 2 cm wider than the chosen box. Lay the box flat on the backside of your paper.
|
|
|
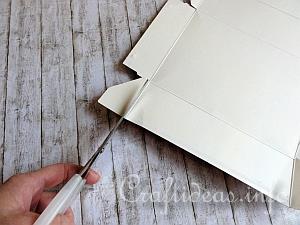
2. Cut away all of the top flaps of the box.
|
|
|
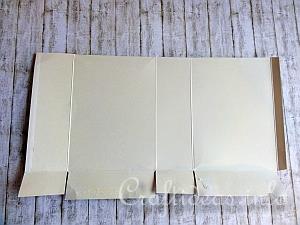
3. This is how the template looks now.
Your box template should have five sides. Four sides are of the box shape itself and the fifth one is like a gluing side or flap. If the box you chose only has 4 sides and no gluing flap, add at least a one centimeter extra width to one side when tracing your box template out. You will need this later as a gluing area.
|
|
|
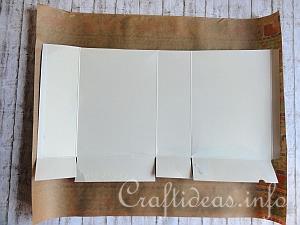
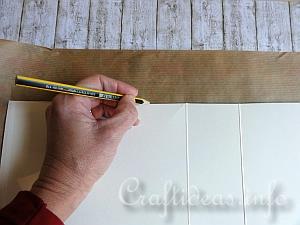
4. Place the box template on the backside of your wrapping paper.
|
|
|
5. Trace around the outer edge of the template.
|
|
|
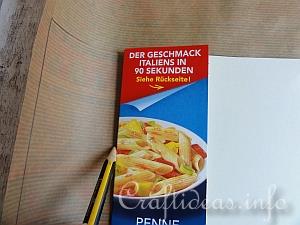
6. Fold then each side of the box and trace also a line where the fold is.
Do this on all sides and also also on the top and bottom of the box. Add 5 centimeters to the top of the box. This will be later folded over to give a nice top edge.
|
|
|
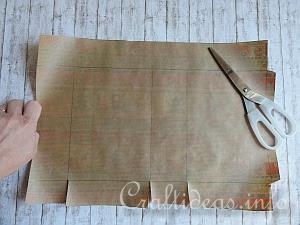
Now you can cut your paper out along the traced outer edges.
|
|
|
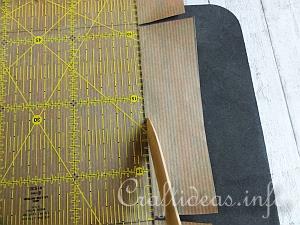
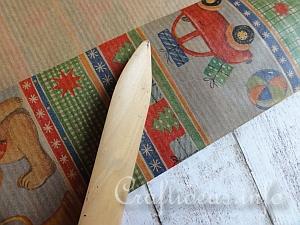
7. Use a bone folder and a ruler to crease into each traced inner line. This creases the inner lines of the paper and makes it easier to fold afterwards.
|
|
|
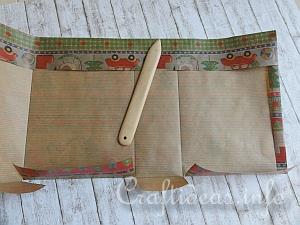
8. Fold over each of the creases and use the bone folder to give you crisp edges where the folds are.
|
|
|
9. Now fold down the top 5 centimeters and crease it as well. This will be your top edge.
|
|
|
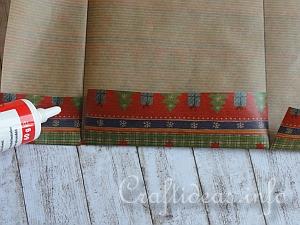
10. Now place glue (stick glue or other glue) on the bottom flaps so you can assemble the bag together. Also do not forget to glue the side flap once the bottom is together.
If you prefer to use double sided adhesive instead of glue to assemble the bag, that will work as well.
|
|
|
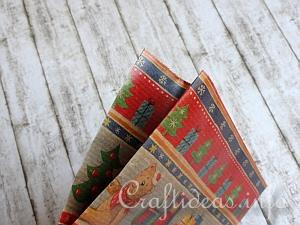
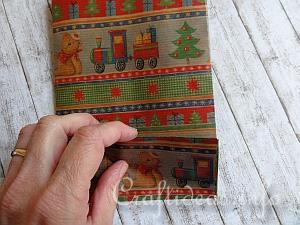
11. Press the top of the bag together so that the front and back side edges meet. Do this on both sides. This will cause a middle valley crease in both sides of the bag.
|
|
|
12. Continue folding the sides together towards the bottom. A bottom flap will automatically appear.
|
|
|
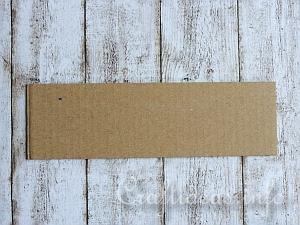
13. For the floor of the bag you can cut a piece of cardboard that will snuggly fit inside. This will help the bag to stand on its on and also will be a support when the bag is filled with a gift.
|
|
|
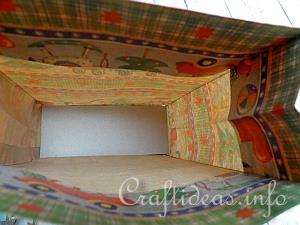
14. This is how the inside of the bag looks with the cardboard piece.
|
|
|
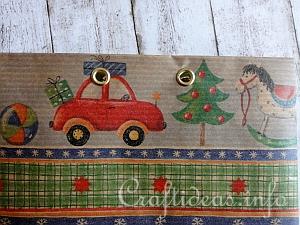
15. Hold the top of the bag together. Punch two holes in the top of the bag through all layers. Secure each of the four holes with eyelets.
Insert cording or ribbon through all of the holes to make handles for the bag. Knot the 2 ends and tuck them inside of the bag so they cannot be seen.
|