|
|
|

|
|
|
|
|
|
Christmas Card in Scandinavian Style
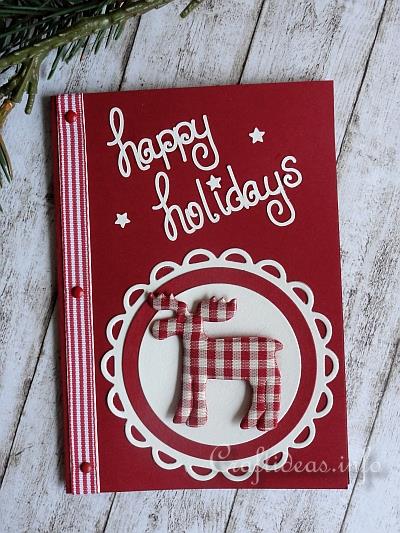
The little fabric moose is the highlight of this card and gives it a Scandinavian flair. The traditional colors of red and white for Christmas are typical for the Scandinavian country of Denmark. If you ever visit the country during Christmas, you will enjoy the quaintness of the colors and it makes you feel like a kid again.
|
|
|

This card was really fun and easy to make!
|
|
|
For this project you will need:
- bordeaux red card 10.5 x 15 cm in size
- bordeaux red and white cardstock
- stuffed fabric moose embellishment with red and white checked pattern
- red and white striped ribbon, 1 cm wide
- 3 small dark red brads
- diecutting machine of choice
- circle and scallop dies (here from Spellbinders)
- “Happy Holidays” die (here from Sizzix e-clips) or “Happy Holidays” sticker of choice in the color of white
- stick glue and craft glue
- needle and soft pricking mat for pricking holes
- mini-star hand punch

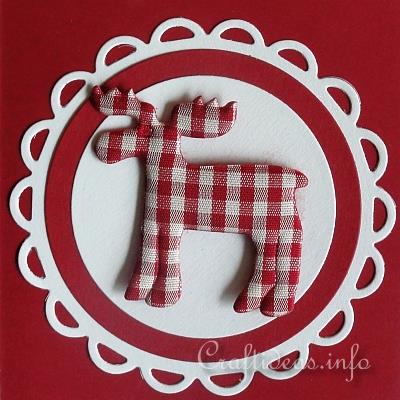
Detail image of the elk motif
|
|
|
Instructions:
1. Die cut your circles - the small white one is 6 centimeters in size, the middle red one is 7 centimeters in size and the scallop measures 8.5 centimeters. Layers these in the respective order over each other and glue together. Then glue the elk onto the top circle.
2. About 5 mm from the left hand side of the card, use the stick glue to adhere the ribbon onto the card. The length of the ribbon should be longer than the card and the ends tuck inside the front cover of the card and tape them down. You will be covering these after the next step
3. Open the card so that it is completely open and place the front of the card on the pricking mat. Measure 1 centimeter from the bottom, 1 centimeter from the top and 7.5 centimeters down the middle of the ribbon. Use a pencil and mark these spots in the center of the ribbon. Then prick a hole in each of these 3 spaces and insert a brad in each hole and close off inside the card.
4. Now cut a bordeaux red card slightly smaller than the size of the card when closed. Adhere this to the inside of the card cover to cover the ribbon ends and the brads.
5. Adhere the layered circles now onto the card.
6. Die cut your message and glue it to the top of the card. If you are using stickers, stick the sticker message to the top of the card.
7. Punch out 3 little stars and glue these randomly onto the card as you see on the image.
8. Send card to someone you care for!
|
|
|
|
|
|
|
|
|
|
|
|
|
|
|
© Craftideas.info
Contact Links Privacy Policy and Cookies
|
|
|