|
|
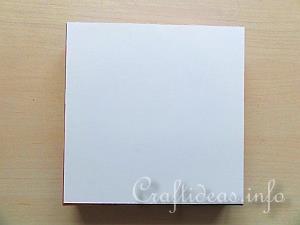
1. Because the lid of this particular box was printed, a piece of white card was cut to the size of the box and adhered to it. This covers up any printing that may show through the fabric. Stick glue was used to glue the card to the box.
This step is recommended if your box is printed or a dark color.
Other continue to step 4.
|
|
|
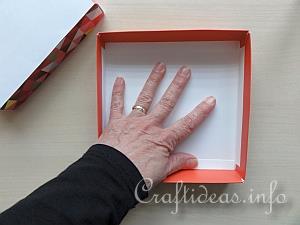
2. Turn the lid over and use your hand to press the lid to the paper.
|
|
|
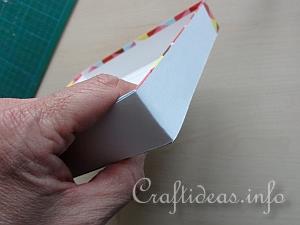
3. Also cover the side walls of the box.
The bottom of the box also should be covered to hide any print.
Now the entire lid top and side walls are white and the bottom of the box as well.
|
|
|
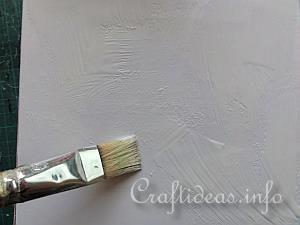
4. Brush a thin and even coat of book binding glue first to the top of the lid. Work quickly as the glue is really thick and dries fast. Also place your brush immediately in a glass of water when finished to prevent the glue from drying the bristles and making them stiff.
|
|
|
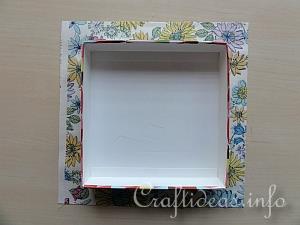
5. Place the lid then centered onto the backside of the fabric. Use your hands to press the lid onto the fabric to assure that that both adhere well together.
|
|
|
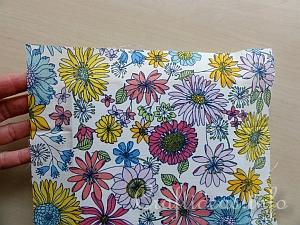
6. This is how the top of the lid now looks like.
|
|
|
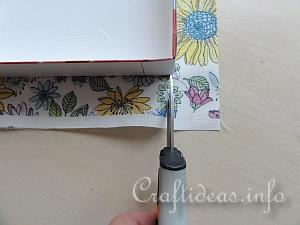
7. Now it is time to prepare to cover the side walls. Place your box lid on the table. Cut a line on the right side from the bottom of the fabric to the lid just like you see in this image. Turn the box 90° and repeat. Then repeat this step for the remaining two sides.
|
|
|
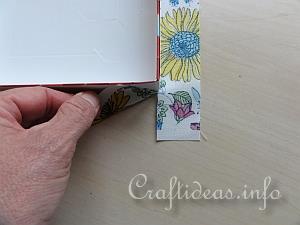
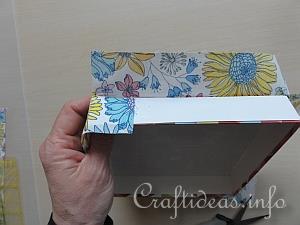
8. This image shows you how the fabric was cut.
The fabric you see on the right side has a flap that extends beyond the box. This is the mentioned flap in the next step.
|
|
|
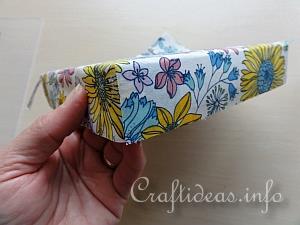
9. Now it is time to glue the fabric. Glue the previously mentioned flap first to the box side. Then brush glue on this piece of fabric plus the remaining box side and fold the longer piece over and adhere to the side.
|
|
|
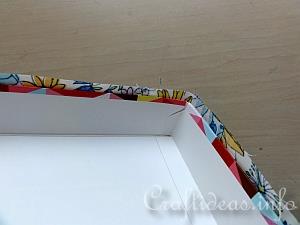
10. Repeat this step for the remaining three sides. This is how a side looks like afterwards.
|
|
|
11. Now there is still a small amount of fabric that is hanging over the lid. This will be glued to the inside of the lid.
|
|
|
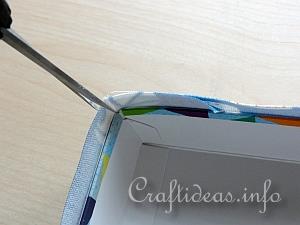
12. Cut each corner in from the edge of the fabric to the box corner. This will help that the fabric folds over into the lid of the box.
|
|
|
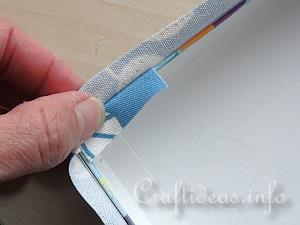
13. You will notice a small piece of fabric on the left side of each corner. It is the piece being held down by the thumb in this image. This small flap can be cut away on all four sides so that the fabric will not be too bulky.
|
|
|
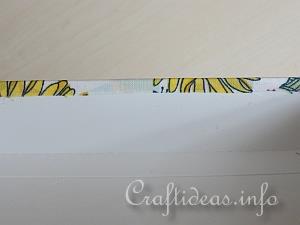
14. Then brush glue to the inside of the lids and press the fabric onto the glue and let dry.
Afterwards you can use the box as you please.
|