|
|
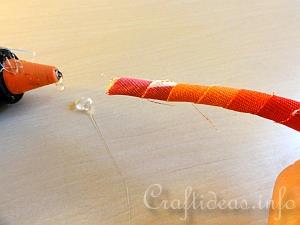
1. Cut your fabric into 2.5 cm or one inch wide strips. Now hot glue the first end of the fabric diagonally onto the rope. Trim the edge with scissors if necessary to keep the edge looking nice. Now wrap the fabric at an angle down the rope so that always overlaps a bit.
|
|
|
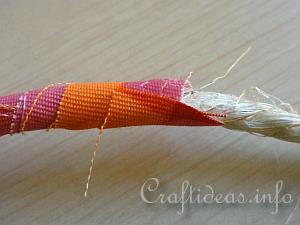
2. When the first piece of fabric is at the end, hot glue it to the rope.
|
|
|
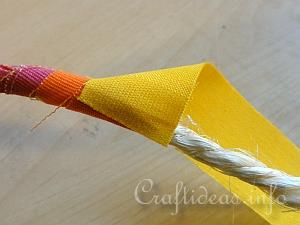
3. To add the next fabric, simply hot glue the end over the previous end and then continue with wrapping.
|
|
|
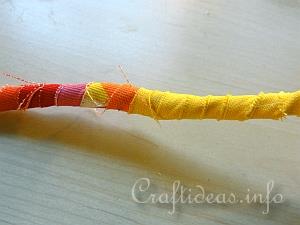
4. This is how it will look after the new fabric is added. Once wrapped, you will only notice the color change.
|
|
|
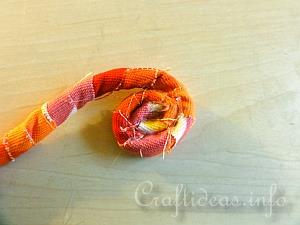
5. Once you have acquired an appropriate length to work with, you can start forming the base of the bowl. Hot glue the end and start rolling the fabric covered rope into a spiral shape or like a snail. Continue adding a thin layer of hot glue along the way and always there where the next fabric will be touching it. For the base, this means you are adding the glue to the outside edge of the spiral.
|
|
|
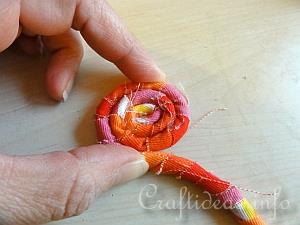
6. To keep the base as flat as possible, hold the spiral in place between your fingers while the hot glue cools down and press it flat against your working surface at the same time.
|
|
|
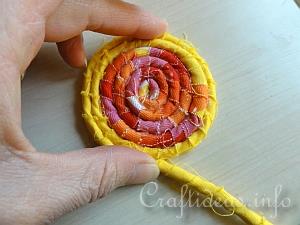
7. Continue adding glue and wrapping more covered rope around the spiral. Make sure to constantly press the fabric onto to the glue at all points so that it holds well and no holes will be showing.
|
|
|
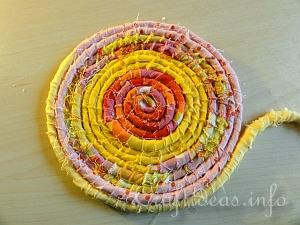
8. At any point when your covered rope runs out, you can continue wrapping more fabric around the rope and then continue with creating the base.
When the base is of a size you like (this bowl base was 18.5 cm or 7 inches), you will now start forming the bowl wall.
|
|
|
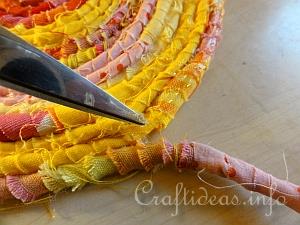
9. Mark your starting point, so you will know at a later point where to finish the bowl off.
In the image where you see the scissors pointing, you will continue adding glue along this point. You can see the line of glue now on top of the outermost row of the base, instead of on the side of it. You will continue adding glue now to the top of the last row. Now you are creating a wall for the bowl. Bring your covered rope now onto this glued area and continue adding glue pressing the fabric onto it.
|
|
|
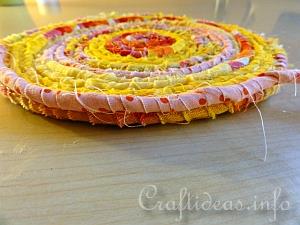
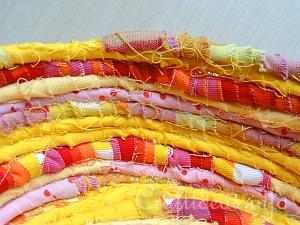
10. Continue adding glue to the top of the outermost edge until your first round of the wall is complete. After this point, decide whether you want the wall to be very straight up or more at an angle and add your glue and fabric rope accordingly on the top of the last row. Forming your wall at an angle will create a bowl form, whereas forming your wall straight up will create more of a cylindral shape.
This particular bowl has 9 rows and is 7 cm or approximately 2.5 inches in height.
|
|
|
11. When you wish to finish off the bowl, cut the end off to a flat angle and finish off where you have marked the starting point to be. Glue this end flat down to edge so it is not too obvious.
|