|
|
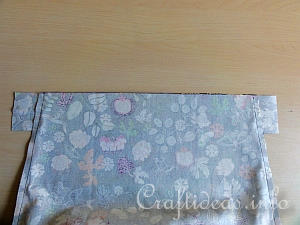
Turn the bag to the wrong side, with the top of the bag up.
To reinforce the top of the bag, place the two 7 x 50 centimeter strips underneath the top of the bag, matching them up to the top edge perfectly.
These pieces are still wider than the bag itself and hang off from the left and right sides of the bag.
|
|
|
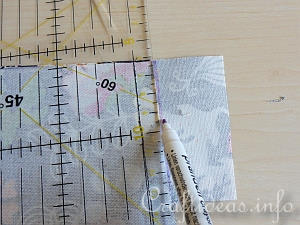
Then just like you did with the pocket, trace the bag edge onto the two pieces on both sides.
|
|
|
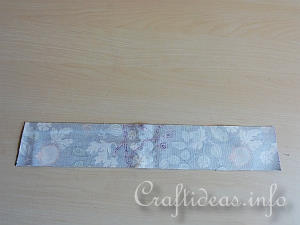
Cut on the lines and now they are the same exact shape as the top of the bag.
|
|
|
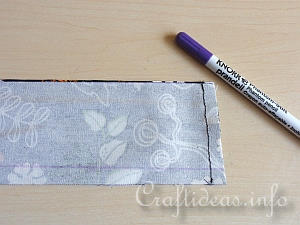
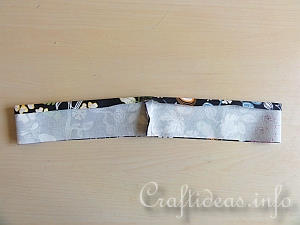
Sew the two short side seams together on the reinforcement pieces.
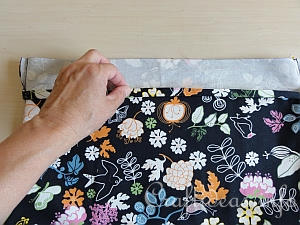
Mark a line 1 centimeter from the bottom (wider) edge of the piece.
|
|
|
Then iron this edge along the line.
|
|
|
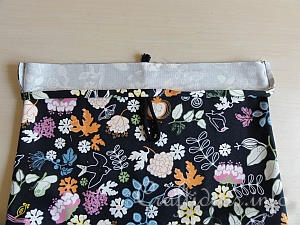
Pin the reinforcement strip now to the bag, matching side seams and with right sides facing..
The ironed up edge is at the bottom of the reinforcement strip.
|
|
|
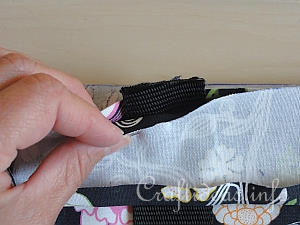
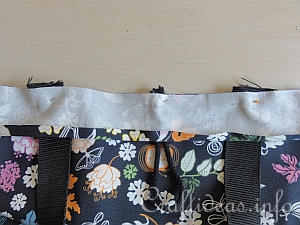
Fold the cord in half and place it between the reinforcement strip and the bag. The loop is facing downwards and the open ends are facing upwards.
Pin in place.
|
|
|
Then take of the nylon webbing pieces and also pin both sides in place on one side of the bag. The distance to the side of the bag is 5 centimeters on each side.
The loop is facing downwards and the open ends are facing upwards.
|
|
|
Do the same to the other nylon webbing on the other side of the bag as well.
Now all the pieces are pinned in place: the handles and loop closure on one side and the handles on the other side.
|
|
|
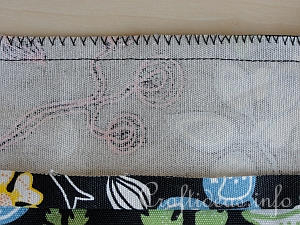
Sew completely along the top edge of the bag. Zig-zag the edge afterwards.
|
|
|
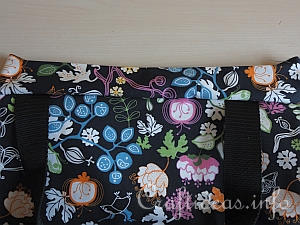
Now you can turn the reinforcement upwards.
The handles and the cord loop are facing downwards.
|
|
|
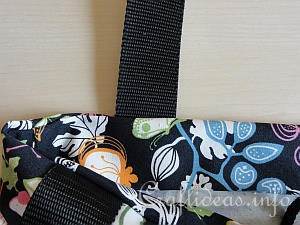
Turn the reinforcement then to the inside of the bag.
The handles and closure loop are now both facing upwards.
|
|
|
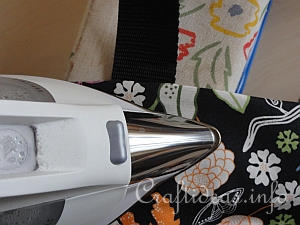
Press along the entire top edge to flatten the fabric and reinforcement.
|
|
|
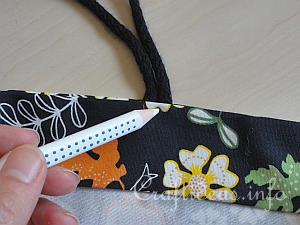
You will now sew two lines:
The first will be along the top edge of the bag.
|
|
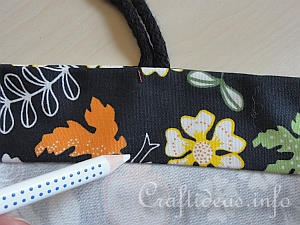
|
The second along the bottom edge of the reinforcement.
|
|
|
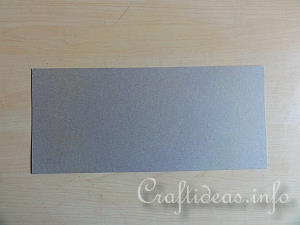
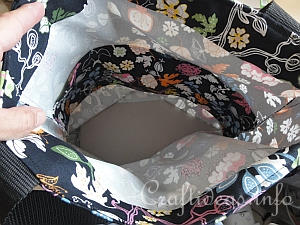
Measure the floor of your bag and create a bottom piece out of chipboard if you like. This will add strength to the bag. This particular one in this tutorial was not covered but you it can also be covered with fabric so it will look good inside the bag.
|
|
|
Place the chipboard in the bag at the bottom.
|
|
|
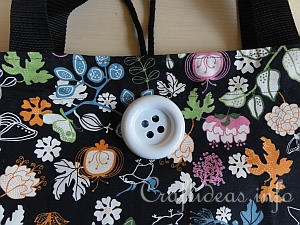
Sew on the button opposite from where the closure loop is coming out of the bag.
|
|
|
|
|
Enjoy your new bag or tote!
|
|