|
|
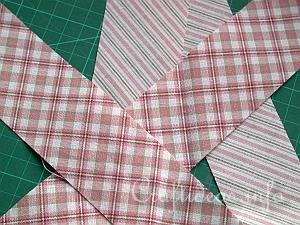
1. Measure the long sides of the wall hanging and measure the short sides. Cut 4 matching length of strips of fabric. Cut the fabric diagonal to the grain.
|
|
|
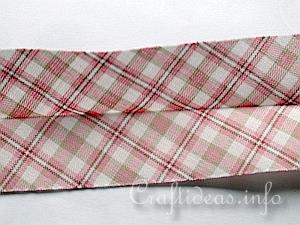
2. Iron the strips lengthwise to the middle of the strip so that you have a middle crease.
|
|
|
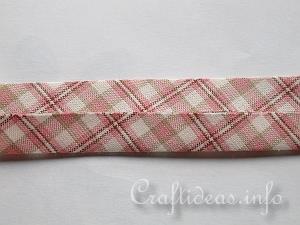
3. Fold the long edges to the middle crease and iron again.
|
|
|
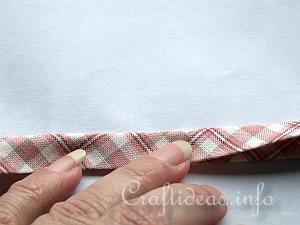
4. Fold the two ironed edges over and iron again.
|
|
|
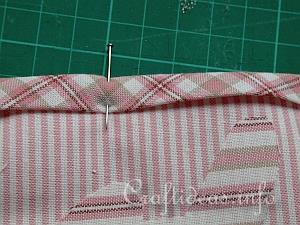
5. Pin the strips now over the sides of your mini- wall hanging. Start with the long sides and finish with the short sides. On the last 2 sides, you will need to fold over the outside edges of the strips to make a nice edge.
|
|
|
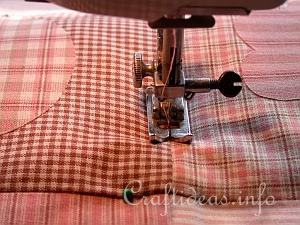
6. Quilt the layers together by stitching in the ditch. This is done by sewing exactly into the already sewn lines of your work.
|
|

|
7. Make 3 loops for the top of the wall hanging and sew them to the back side of your project.
|
|
|
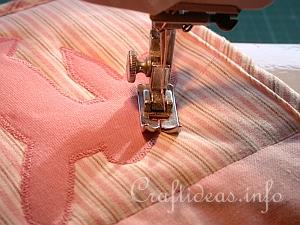
8. Use a tight zig-zag stitch and matching thread to stitch around your fused motifs.
|