|
|
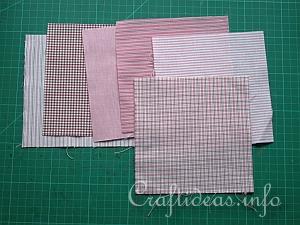
1. Cut six 15 x 15 cm (6 x 6 inches) blocks in 6 coordinating cotton fabrics.
|
|
|
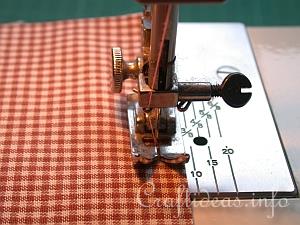
2. Sew 3 rows of 2 block together using the pressure foot width of your machine as the seam allowance guideline. (approximately. 7mm or 1/4” seam allowance)
|
|
|
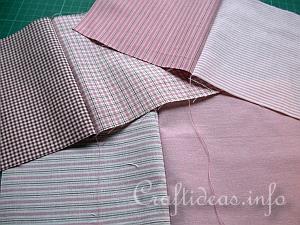
3. These are the finished 3 rows of 2 blocks.
|
|
|
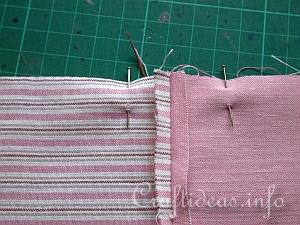
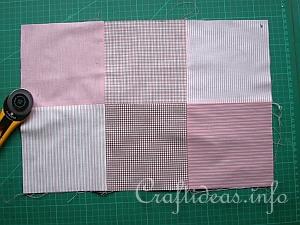
4. Pin the first row to the second with the right sides facing each other and sew these together. Once finished, add the third row.
|
|
|
5. This is how your project now looks.
|
|
|
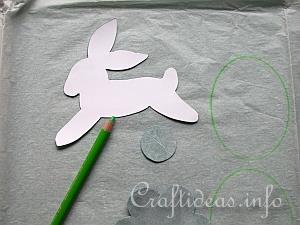
6. Print out the motifs to fit within the squares and create templates. Trace each template twice onto fusible web and cut each pattern roughly out.
|
|
|
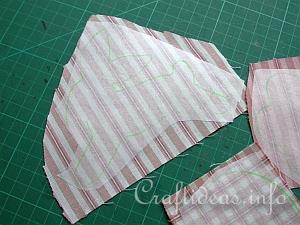
7.Iron each piece of fusible web onto the backside of your choice of fabrics.
|
|
|
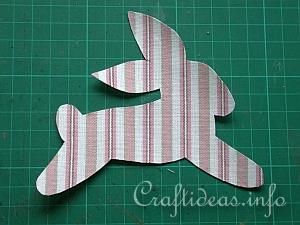
8. Cut the figures exactly out and remove the protective paper backing.
|
|
|
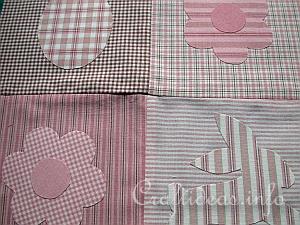
9. Fuse the figures into the center of each square.
|
|
|
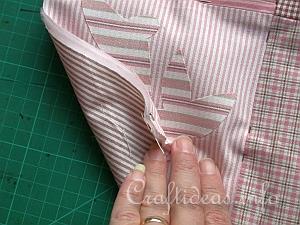
10. Measure the front side of your wallhanging. Cut a piece of batting and a backing the same size as the front and pin all 3 layers together. Place first the backside with the wrong side up on the table, then comes the batting and then the top side with the right side up.
|
|
|
|
Part 2 - Finishing Off the Wall-Hanging and Machine Appliquing the Motifs
|