|
|
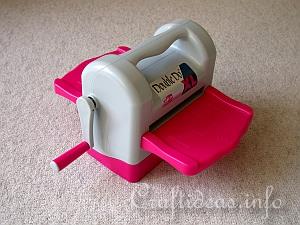
This is the Double Do XL diecutting and embossing machine. The XL size is excellent for larger die cut templates but can be used for the smaller ones, as well.
|
|
|
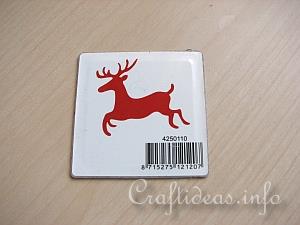
1. This is an example of a Double Do die cut. It is very thin.
|
|
|
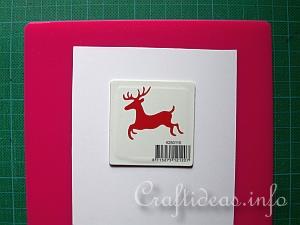
2. To use the die cut, you need to use the pink Double Do® plate. On top of that then comes the cardstock, then comes the die cut...
|
|
|
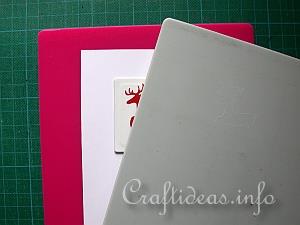
3. ... and the last layer is the grey Double Do® plate.
|
|
|
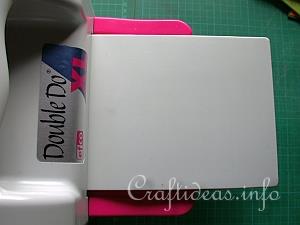
4. Insert now this “sandwich into the front of the machine.
|
|
|
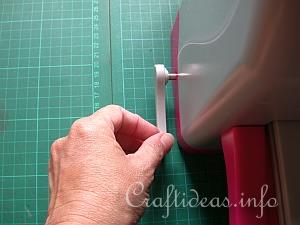
5. Secure the machine to the table by pulling the small left lever until the machine adheres itself to the underground. This underground should be smooth and flat.
|
|
|
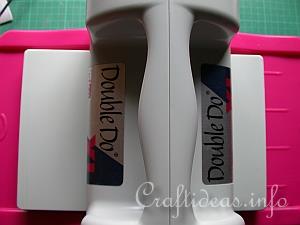
6. Now pull the lever on the right side towards you so that it starts to pull the “sandwich” through the machine. Continue turning the lever until the “sandwich” is completely through. You will need to hold the top of the machine with your second hand if necessary to help.
|
|
|
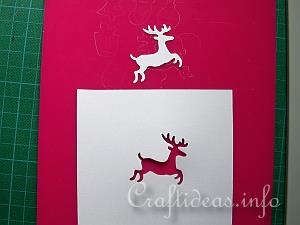
7. This is the result. You have a perfectly cut image to use for your crafting needs.
|