|
Using Silicone Candy Molds
|
|
|
|
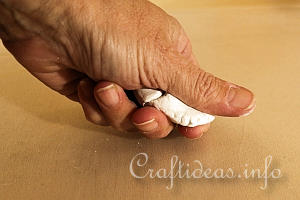
1. To make the clay figures with candy molds, simply make a small ball about the size of the figure you wish to create.
|
|
|
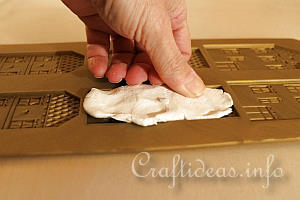
2. Press the ball into the mold and try that it fills all the details.
|
|
|
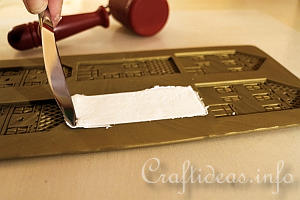
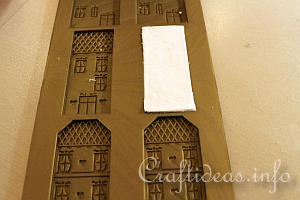
3. Use a kitchen knife and cut away any excess clay that is over the edge of the figure. You can place the knife flat across the figure and scrape over the surface so that it is the same level as the mold.
|
|
|
4. Use a drop of water on your finger to smoothen the backside of the figure. It is easier to do so while it is still in the mold.
|
|
|
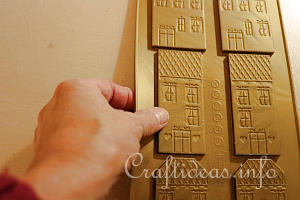
5. Then turn the mold over and pop the figure out. The great thing about the silicone molds is that they are very flexible.
|
|
|
6. This snowman turned out perfectly and will look cute embellishing a gift.
Wet your finger with water and gently glide it along the side of the image to soften the edge in case it is a little rough.
|
|
|
|
|
Using Embossed Cookie Cutters
|
|
|
|
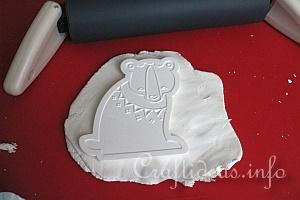
7. Use a rolling pin and flatten out a piece of clay to the height of the cookie cutter. It has to be high enough, so that the details of the cookie cutter will touch the surface of the clay.
|
|
|
8. Then press the cookie cutter onto the clay.
|
|
|
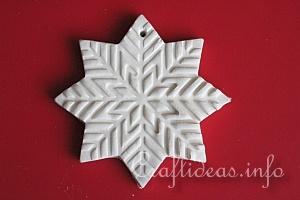
9. Remove the cookie cutter. Often the cutter cuts all the way through. If that is not the case, just use a knife and cut gently along the outside edges of the clay ornament to remove the excess clay.
|
|
|
10. Wet your finger with water and gently glide it along the side of the image to soften the edge in case it is a little rough. Take a toothpick and create a hole through the top so the ornament can be hung.
|
|
|
11. Here the bear is being created.
|
|
|
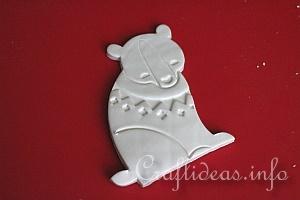
12. When the cookie cutter was removed, the image was perfect. Smoothen the edges if necessary.
|
|
|
|
|
Making the Flat Houses
|
|
|
|
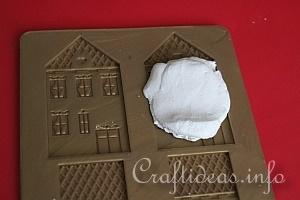
13. Flat forms are easy to make. Place a piece of clay over the image you would like.
|
|
|
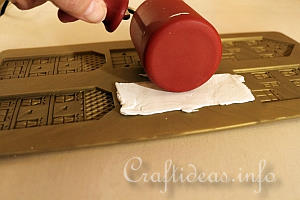
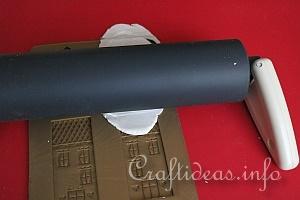
14. Use the rolling pin and press the clay into the mold. Go back and forth a couple of times.
|
|
|
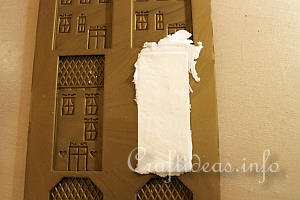
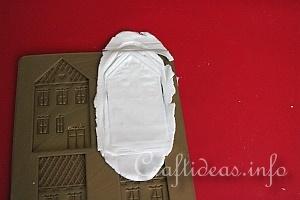
15. That will usually result that the edges of the clay break away from the mold. Then you can cut along the side to remove the excess clay.
|
|
|
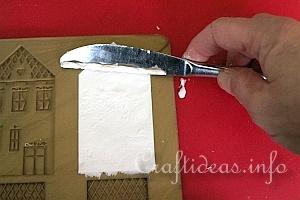
16. Use a kitchen knife and scrape flat along the top of the mold to remove any remaining excess clay.
|
|
|
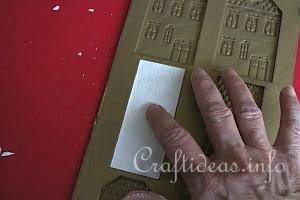
17. Use your finger and a little bit of water and smoothen the backside of the clay figure. It is a lot easier doing this while the figure is in the mold, plus you donít risk ruining the detailed side of the ornament.
|
|
|
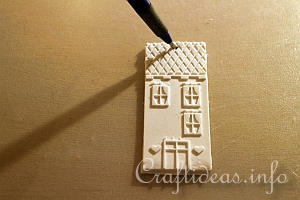
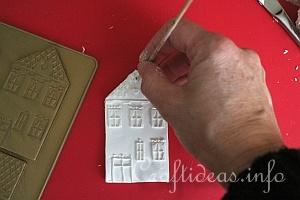
18. Use a toothpick or shish kabob stick and poke a hole through the top of the ornament. The hole should be large enough so that a piece of bakerís twine or other ribbon can be pulled through it.
|
|
|
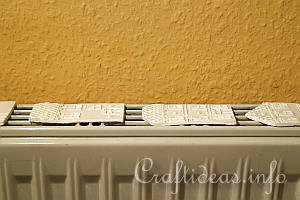
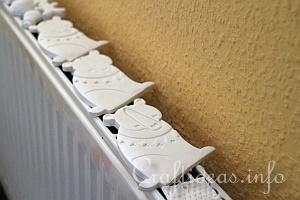
19. Now the ornaments need to dry thoroughly. This could take from 1 day up to several days, depending how warm and/ or humid the room is. The radiator is the most effective way, if you have one.
|