|
|
|

|
|
|
|
|
|
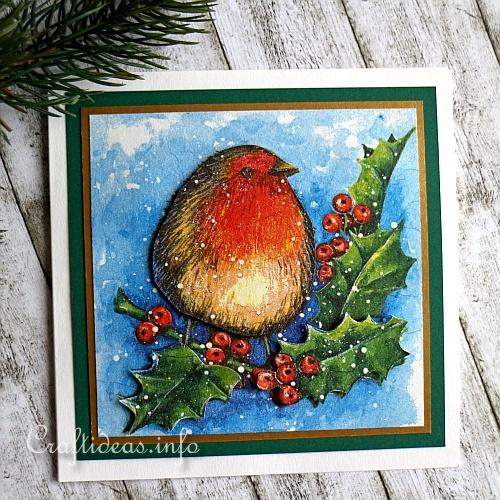
Robin Christmas Card
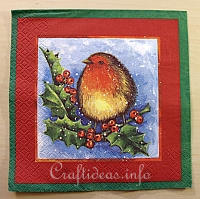
The European robin is a charming and irresistable looking little bird and if you are lucky, you will see it all winter long in your garden. Over the years the bird has become a popular Christmas motif, especially in some European countries. The image used here was found on paper napkins and just seemed ideal to create Christmas cards with it. You will most likely not be able to purchase the same paper napkins used for this project. Simply select similar motifs that are appealing to you and the technique remains the same.
|
|
|
|
|
For this project you will need:
- a white square 13.5 x 13.5 cm card (about 5.3 inches)
- cardstock in the colors of white, gold and green
- 3-D pads
- paper napkin applique glue
- baking paper
- iron
- a paper napkin with large robin motif (or other bird of your choice)
 |
|
|
Instructions:
1. You will need two napkin quarters for this project. Remove all but the top printed layer of your paper napkin and discard the rest.
2. Brush an even coat of paper napkin applique glue onto a piece of white cardstock that is larger than both napkin quarters.
3. Carefully place both napkin quarters onto the cardstock and again brush an even coat of glue over the motifs. Be careful not to tear the napkins while brushing. Let the motifs dry. The cardstock may curl up while drying but that is not a problem.
4. Place a piece of baking paper over the motifs and then iron over the paper napkin. This will remove any wrinkles that may have been caused and also flatten the cardstock, too.
5. Once it has cooled down, cut the first square exactly out. Glue it onto gold colored cardstock and cut out with a 2.5 mm or 1/8 inch border. Then glue this square onto green cardstock and cut out with a 5 mm or 1/4 inch border. Glue the entire square now onto the card.
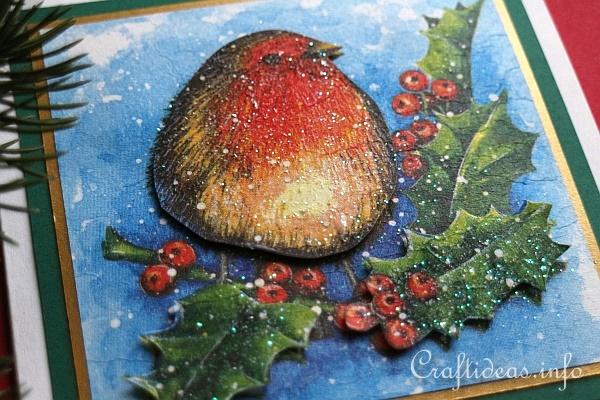
6. Cut pieces of details (the bird, leaves, etc...) from the second napkin quarter. Place 3-D foam pads on the backside of the little details. Then adhere these over the main napkin motif so that the details are raised.
|
|
|
|
|
|
|


How the details are raised on the card look like.
|
|
|
|
|
|
|
|
|
|
|
|
|
© Craftideas.info
Contact Links Privacy Policy and Cookies
|
|
|