|
|
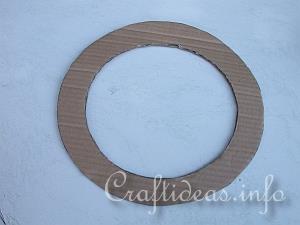
1. Cut a ring out of a cardboard box.
|
|
|
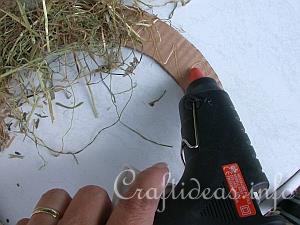
2. Spread hot glue on the top side of the ring and lay groups of hay on it until it is completely covered. (Always be careful when using a hot glue gun!)
|
|
|
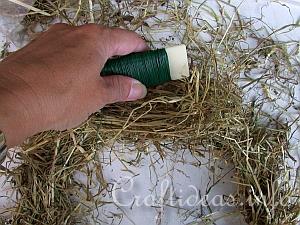
3. Using floral wire, wrap around many times to secure the hay. At this point, you may add more hay under the wire to make it fuller.
|
|
|
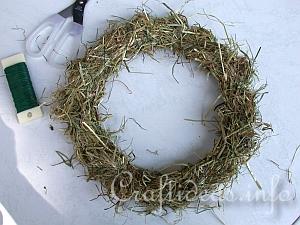
4. The wreath is now ready to decorate.
|
|
|
|
|
Method 2 - Fall Wreath With Leaves
Supplies needed: cardboard, artificial leaves, low temperature hot glue gun, decorating elements such as pine cones, acorns, nuts, wheat heads, etc...
|
|
|
|
|
|
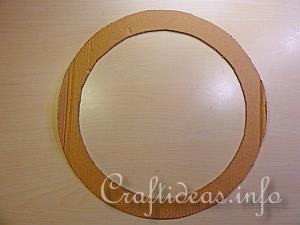
5. Cut a cardboard ring out.
|
|
|
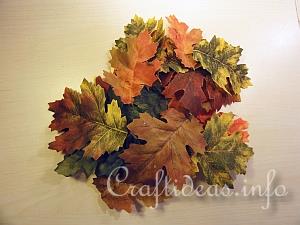
6. Collect a lot of pretty artificial leaves.
|
|

|
7. Hot glue the first leaf onto the wreath. (Always be careful when using a hot glue gun!)
|
|

|
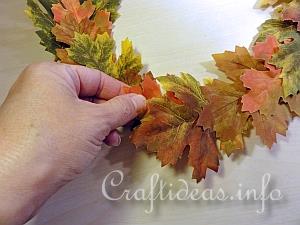
8. Continue adding leaves by adding a drop of glue to the ring and pressing and layering the leaf about halfway over the first.
|
|
|
9. When you reach the end, add the last leaf and tuck the bottom of the last leaf under the top of the first leaf.
|