|
|
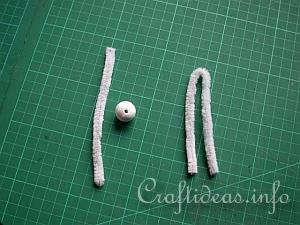
1. To make the basic figure, you will need a 17mm paper or styrofoam ball for the head. For the body, cut 2 chenille pieces 19 and 13 cm long.
|
|
|
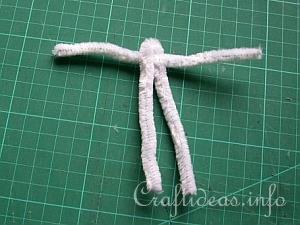
2. Fold the longer piece in half and insert the shorter piece through leaving about 6 mm at the top for the neck.
|
|
|
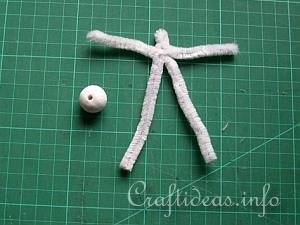
3. Twist the inserted piece around the longer chenille to secure it. Set the head aside until you have dressed the figure.
|
|
|
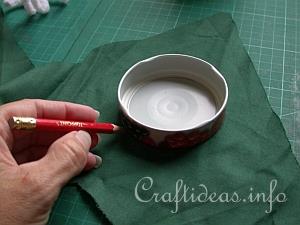
4. To create a simple cape or dress, use a larger lid and trace a circle and cut it out. You may also make a larger circle if you want the top to be longer.
|
|
|
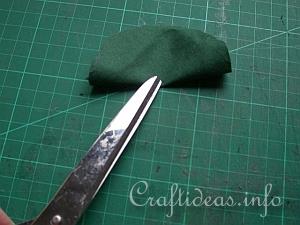
5. Fold the cut circle in half and cut a small slit in the middle of the folded edge.
You may cut out a piece of rectangle instead of a circle. The procedure is the same. There are many possibilities for making simple clothes for the figures.
|
|
|
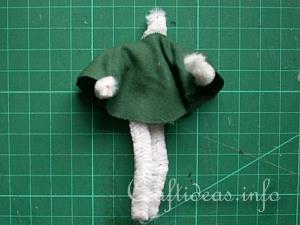
6. Slip the slit over the neck of the body. Use the arms to secure the “top”. If desired, tie off the circle with a piece of yarn at the waist to hold it down. Once dressed, you can glue the head to the body.
|