Free Craft Ideas, Tutorials and Templates


CI Border

Home

Patterns

Tutorials

Spring Crafts

Summer Crafts

Fall Crafts

Christmas & Winter Crafts

New Crafts


Illustrated Craft Tutorial - How to Create a Penguin Paper Window Decoration

This project is recommended for children ages 6 and older.


Window Decoration - Paper Penguin 1

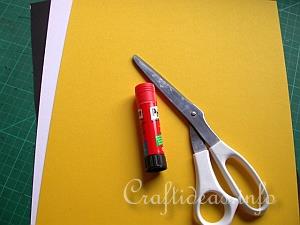
1. First you need to gather you supplies and also your penguin pattern. Print the pattern out to a size you like and create a permanent template for easier tracing.

Window Decoration - Paper Penguin 2

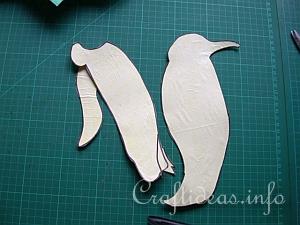
2. This is how the pieces look once the permanant template is created.

Window Decoration - Paper Penguin 3

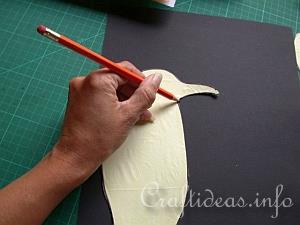
3. Lay the pieces on the colors indicated and trace around them. Cut the pieces out.

Window Decoration - Paper Penguin 4

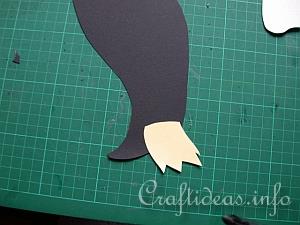
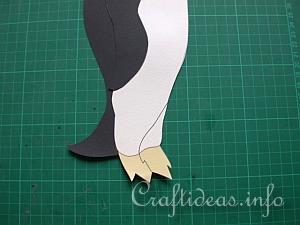
4. First glue the feet onto the black body piece.

Window Decoration - Paper Penguin 5

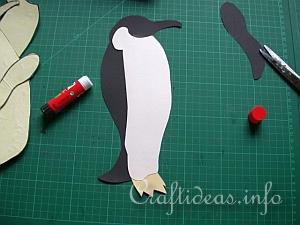
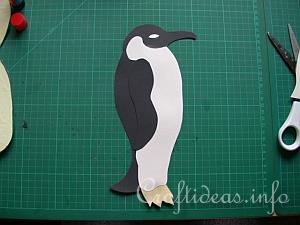
5. Glue the white body pieces evenly on both sides of the black body piece so the decoration will look from both sides.

Window Decoration - Paper Penguin 6

6. Now glue the wing on each side. Create an oval for the eye and glue it on. You can stick the pinguin with tape onto the window or you can use a string to hang it.

Window Decoration - Paper Penguin 7

7. Use a thin pin and draw lines for the legs and feet if you like.


Christmas Craft Idea for Kids - Paper Craft - Penguin Wall Decoration
Paper Penguin Craft Project
Click here for a larger image and supply list to make this project.


More Kids Craft Tutorials


Copyright: Please read this Copyright Information about using the images of this website.


© Craftideas.info

Contact     Links     Privacy Policy and Cookies